Cleaning Tips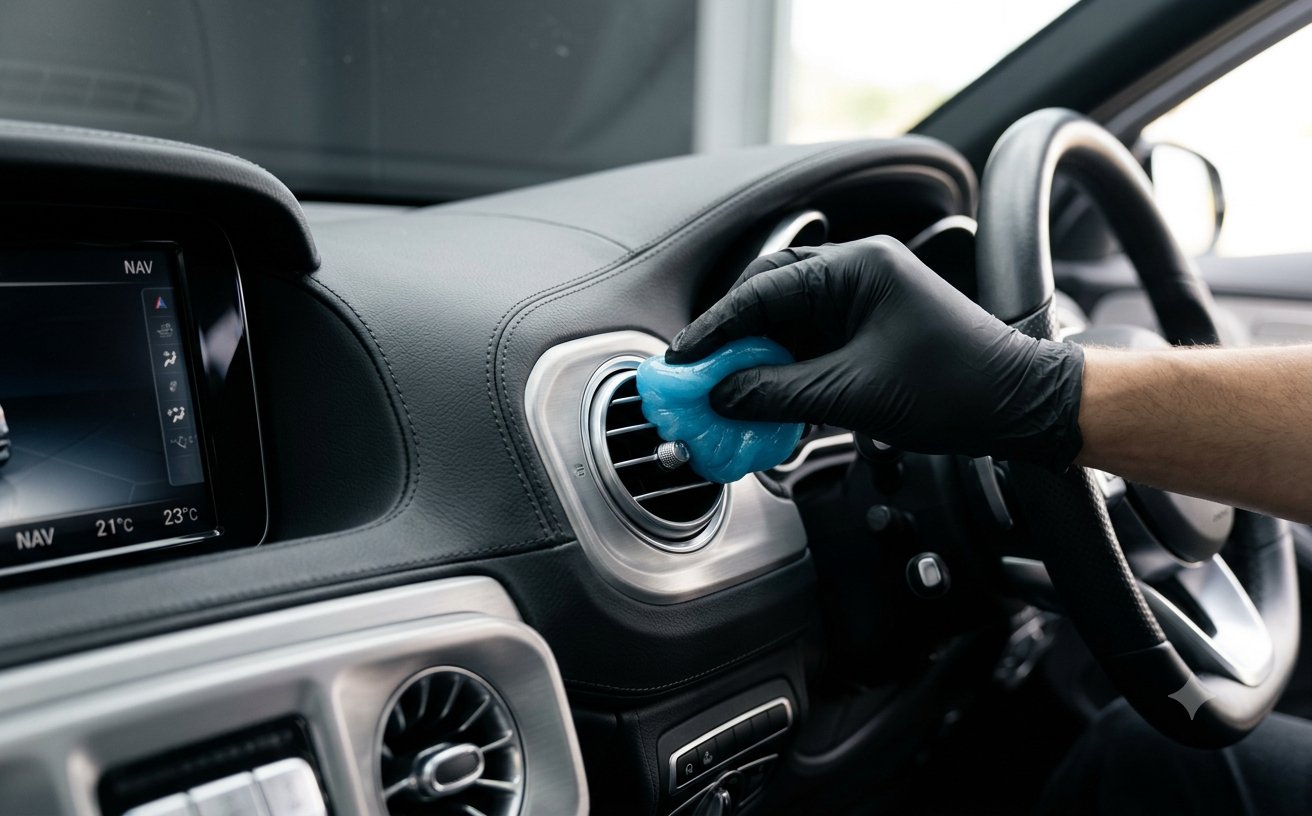
How to Clean Your Car Interior: A Room-by-Room Guide
·7 min read
A clean car interior isn't just about looks — it's about comfort, hygiene, and protecting your vehicle's value. The good news: you don't need a full detailing session every week. A simple, repeatable routine gets most of the job done.
This guide walks through your cabin "room by room" so nothing gets missed.
Start by removing trash, floor mats, and personal items. Use a vacuum with a crevice tool to pull crumbs and dust from seat gaps, under the seats, and along the console. Pay attention to the areas where debris hides: seat rails, door pockets, and the seam where the console meets the seats.
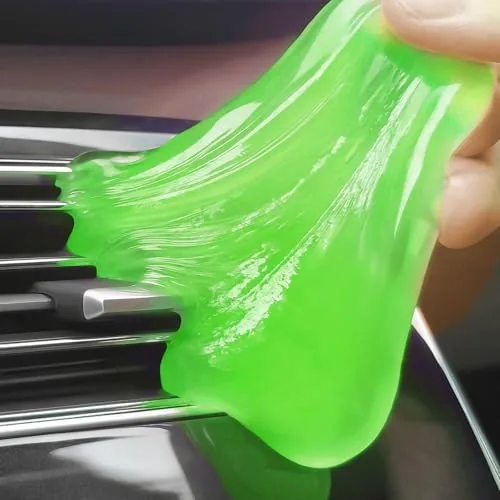
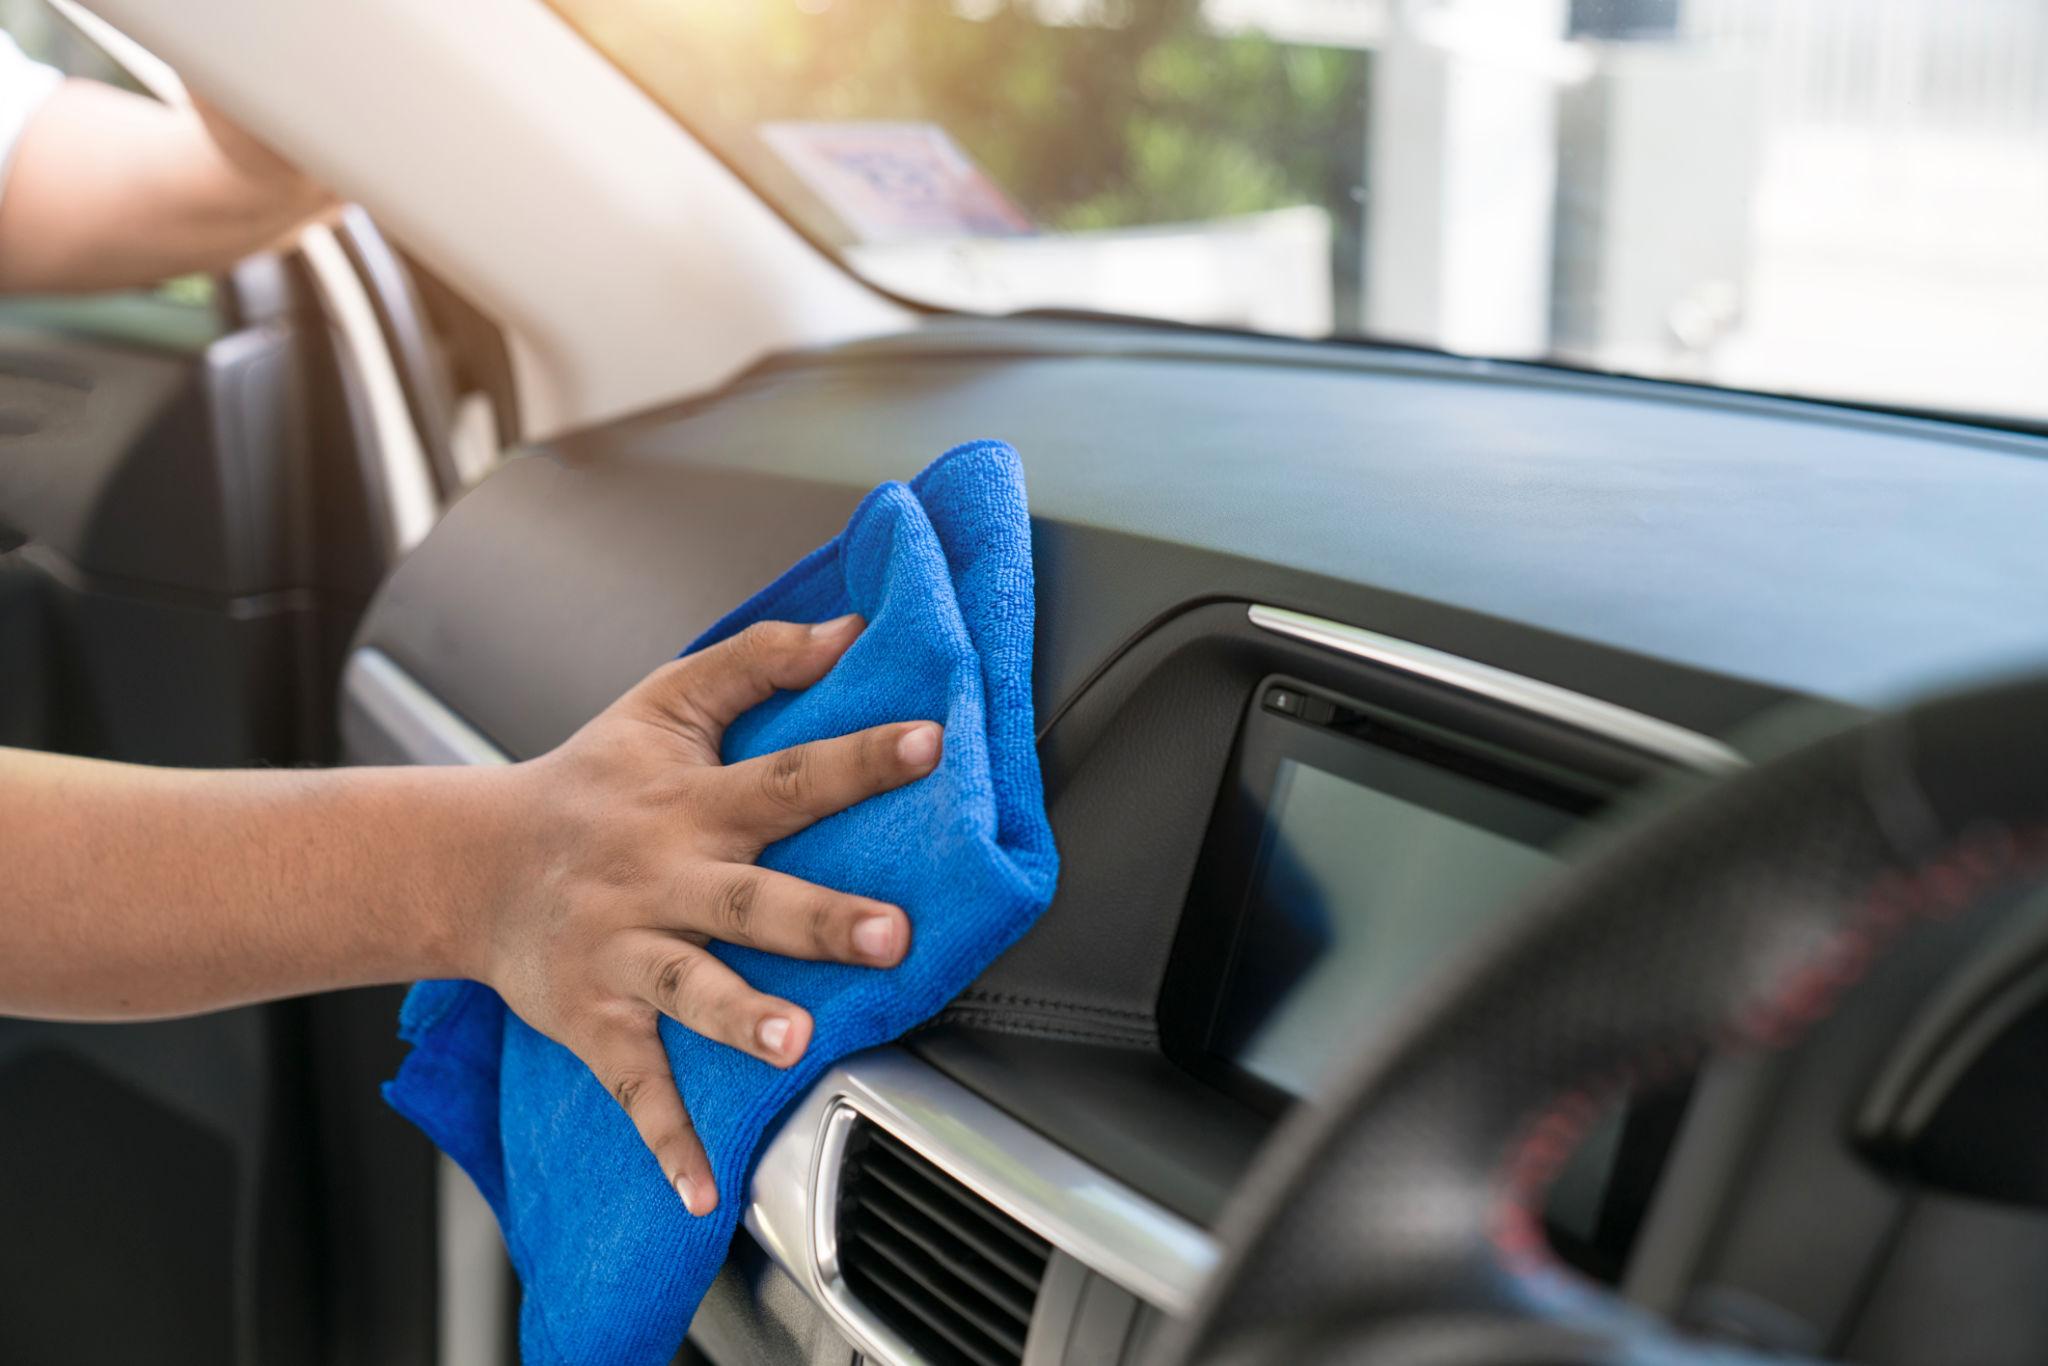
The dashboard and air vents collect the finest dust — and they're the hardest to reach with a cloth. Press a cleaning gel into each vent louver and pull it out; the gel lifts dust that a wipe would just smear around. For the flat dashboard surface, use a slightly damp microfiber cloth. Avoid spraying cleaner directly onto the dashboard — mist it onto the cloth instead.
Cup holders and the thin seams around the console are crumb magnets. Cleaning gel conforms to these shapes and pulls debris out cleanly. For sticky residue, a damp cloth with a little interior cleaner works; follow with a dry pass so no moisture is left behind.
These are the surfaces you touch most, so they collect the most skin oil and bacteria. Wipe them with a clean microfiber cloth lightly dampened with water or a mild interior cleaner. For the steering wheel, use a soft cloth and avoid harsh degreasers that can dry out the material.
Modern screens have delicate anti-glare or oleophobic coatings. Never use ammonia glass cleaner, paper towels, or alcohol wipes. Use a dry or slightly damp microfiber cloth and wipe gently in straight motions. Never spray liquid directly onto the screen.
For leather, use a dedicated leather cleaner and conditioner to prevent cracking. For cloth, a fabric-safe upholstery cleaner and a soft brush lift stains. Avoid saturating seats with water — excess moisture can lead to mildew and odors. Let everything dry with the doors open before you reassemble.
Clean interior glass last, after dust has settled. Use a streak-free glass cleaner on a microfiber cloth (not paper towels) and wipe in circular motions, then buff with a dry cloth.
Done weekly, this keeps your cabin consistently fresh and dramatically reduces the need for intensive detailing later.
When it comes to air vents, cup holders, dashboard seams, and other hard-to-reach spaces, a car cleaning gel does the heavy lifting — lifting debris through gentle adhesion instead of aggressive scrubbing, which also helps reduce the risk of scratches on soft interior materials.
Shop this post
The exact products mentioned in this article.

Cleaning Tips
From seatbelt buckles to A/C vents, these overlooked zones collect more dust than your dashboard. Here's how to clean them in under 10 minutes.
Cleaning Tips
Most drivers clean their car to protect it — but common habits like harsh cleaners, dirty towels, and dry dusting can scratch coatings and trim. Here are the 5 mistakes pros avoid, and what to do instead.
Product Guides
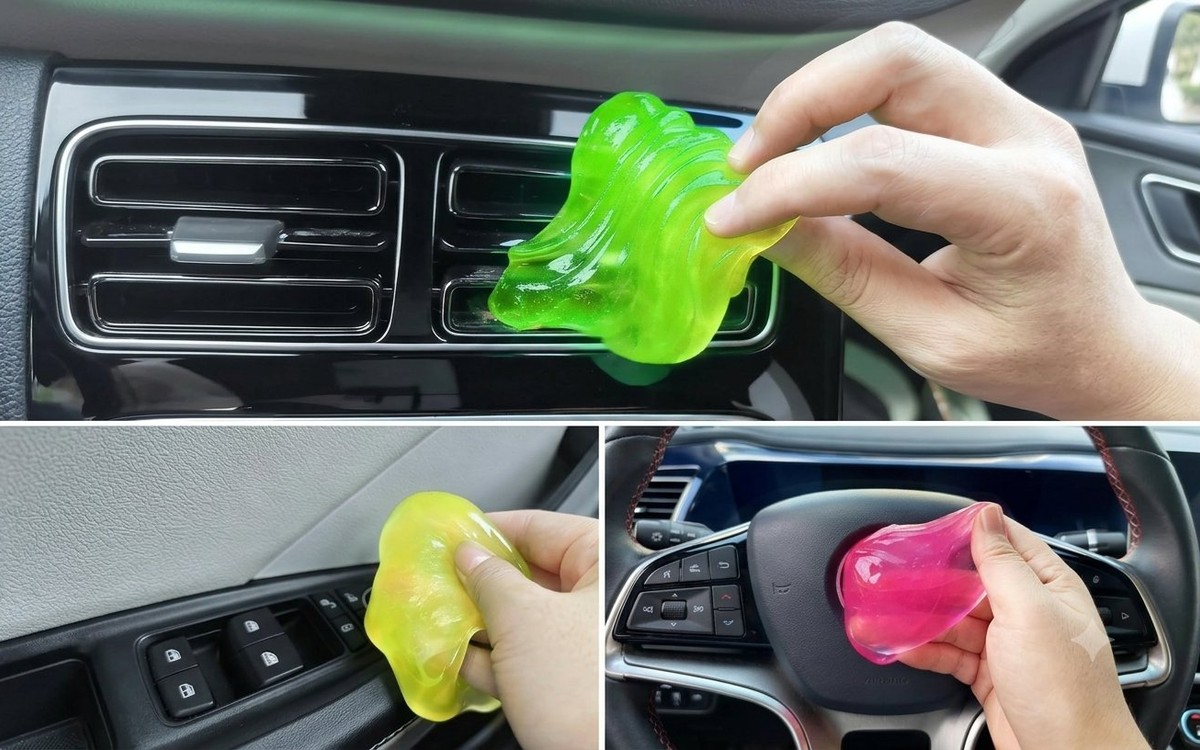
Color-coding isn't just fun — it actually helps you avoid cross-contamination. Learn the workflow pro detailers use.